Warehouse Receipting
This document illustrates how the Warehouse Receipting functionality works in Ceres 5. Ceres supports Warehouse Receipts, Put-aways and Shipments. These functions are useful for smaller volume warehouses where the food bank does not want to handle these transactions individually. The Inventory Workflow Procedure outlines the available Ship and Receive Options in more detail.
Ceres Object release 5.00.00 is required for the functionality described in this document.
Accessing the Warehouse Receipt
Warehouse Receipts require a released order before they can be properly created. Once the order is released, the receipt can be created directly from the order, created via a direct reference to the order, or the receipt can be created such that it encompasses several orders into one receipt. For the purpose of this document, we will explore the last two options.
-
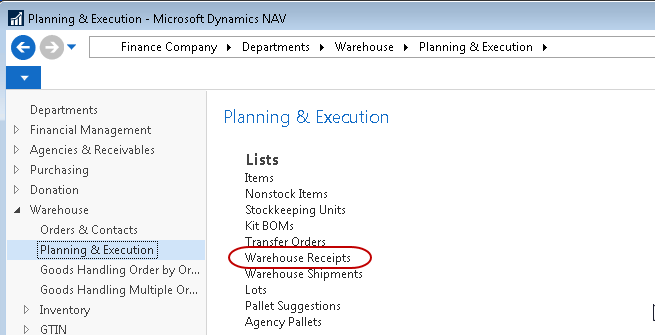
The Warehouse Receipt can be accessed from Departments ▸ Warehouse ▸ Planning & Execution ▸ Warehouse Receipts.
-
Click New on the Home ribbon to create a new Warehouse Receipt.
-
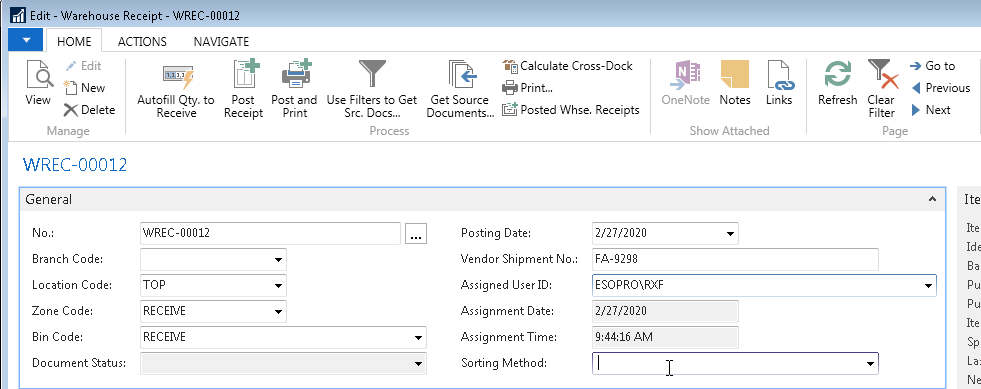
Press the Enter key to have Ceres automatically assign the next document number in the No. field. This will also fill in the Posting Date.
-
In the Branch Code field, specify the Branch (if any) where the product will be received.
-
In the Location Code field, specify the Location where product will be received. This will also fill in the Zone Code and Bin Code fields based on setup from the Location card.
noteWarehouse Receipts can only be used with Locations where Require Receive has been turned on. Further information on how to activate this field can be found in the Location Overview documentation.
-
If necessary, change the Zone Code field to the Zone where the Items will be received.
-
If necessary, change the Bin Code field to the Bin where the Items will be received.
-
In the Vendor Shipment No. field, enter the shipment number from the Vendor’s document.
-
On the Assigned User ID field, use the lookup to select the user in charge of receiving the products. This will also fill in the Assignment Date and Time fields, which provides a date stamp for when the Items were received into the warehouse.
-
Sorting Method
Get Source Documents
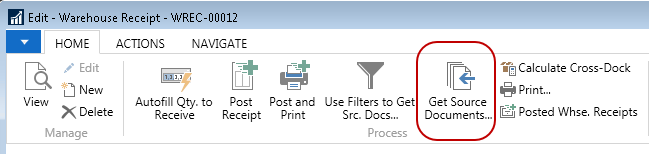
The Warehouse Receipt is designed so that it retrieves data from a source rather than manually typing the receipt information. The first method of retrieval involves the Get Source Documents function.
-
From the Warehouse Receipt, click Get Source Documents from the Home ribbon.
-
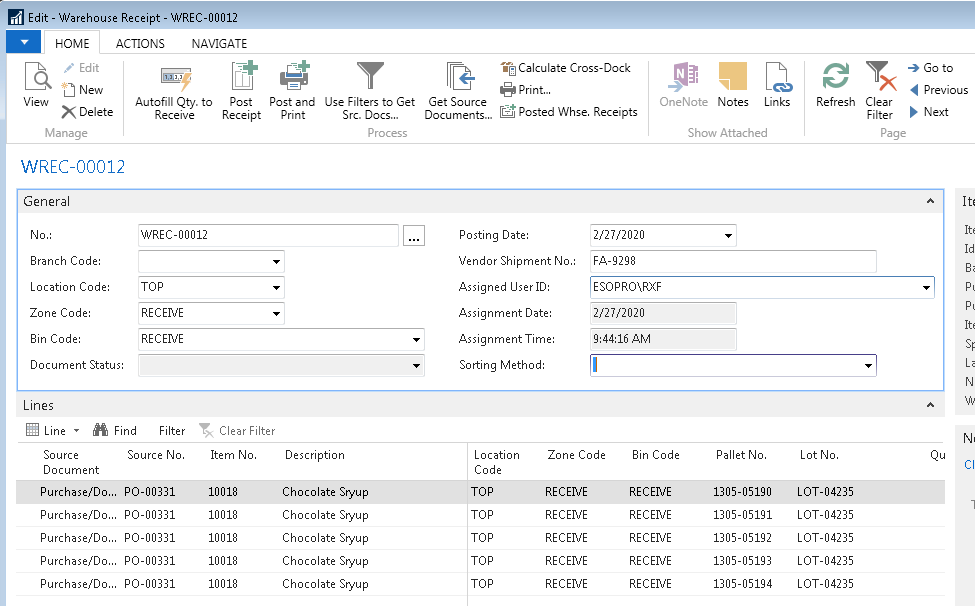
Select the order you would like to receive from the list and click OK. The Warehouse Receipt lines will populate with Items to receive from the order.
User Filters to Get Source Documents
The Warehouse Receipt can be used to retrieve Items to be received from multiple sources by using the Use Filters to Get Source Documents method.
-
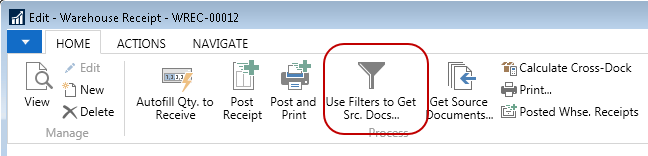
From the Warehouse Receipt, click Use Filters to Get Src. Docs on the Home ribbon.
-
When you use the filters for the first time, you will need to set up a filter. In the future, you can re-use your filter. For this document, we are creating “03CBM1”.
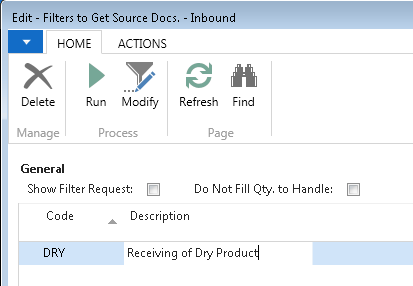
-
In the Code and Description fields, enter a name for your filter.
-
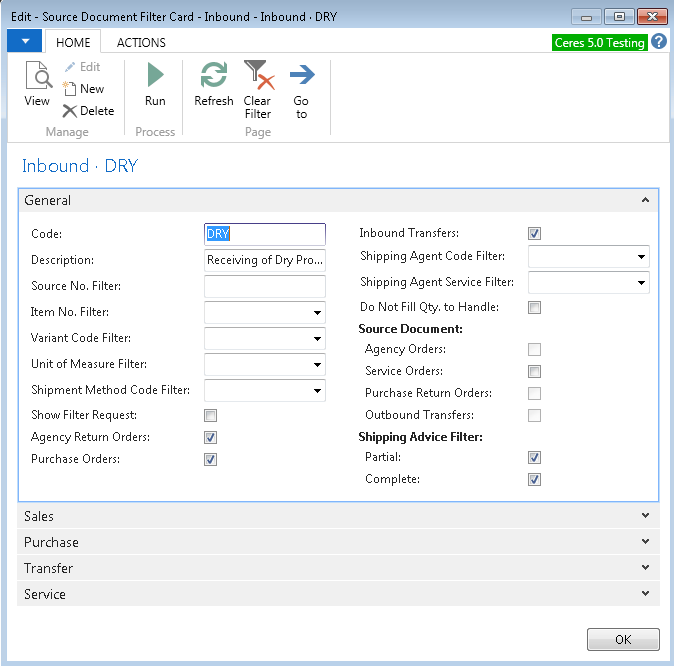
Click Modify from the Home ribbon to display the Source Document Filter Card – Inbound Page. Here you can define the filters for what documents the Warehouse Receipt should attempt to retrieve information from.
- Click on the General FastTab.
- Remove the checkmark from Agency Return Orders and Inbound Transfers.
- In the Item No. Filter, enter the desired item number.
-
Click Run on the Home ribbon. This will retrieve information based on your filter and place the results in the Warehouse Receipt lines. Notice the Source No. column, which shows the originating document.
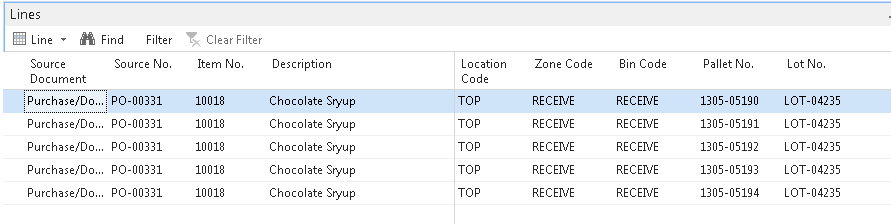
-
You may delete any lines you do not wish to receive.
Receiving
-
Move to the Lines of the Warehouse Receipt.
-
Verify the Zone and Bin to receive the item. You may change the values as necessary.

-
Update the Qty. to Receive field with the actual quantity that is being received into inventory.
noteIf the Qty. to Receive is lower than the Quantity field, you will be completing a partial receipt. You can return to the Warehouse Receipt later to post more receiving.

-
Repeat the steps above for each line.
-
Once you have verified the data, from the Home ribbon click Post, or Post & Print to print a receiving document. Either action will receive the items and create a Warehouse Posted Receipt.
noteThe receipt can be reprinted from a Warehouse Posted Receipt. The option selection (Receive or Receive and Invoice), is configurable in Ceres via the "Invt. Put-Away Default Posting Opt” located on the Posting FastTab of the Inventory Setup page. The setting of this field will determine which option users are presented with when choosing Post or Post & Print but can be overridden if desired.