Warehouse Put-Away Overview
This document describes a general overview of Warehouse Put-aways. Ceres 5 supports Warehouse Receipts, Put-aways and Shipments. These functions are useful for smaller volume warehouses where the food bank does not want to handle these transactions individually. The Inventory Workflow Procedure outlines the available Ship and Receive Options in more detail.
Ceres Object release 5.00.00 is required for the functionality described in this document.
Put-Away Templates
When the warehouse is set up, you must define how the put-away process is prioritized by creating Put-away Templates.
-
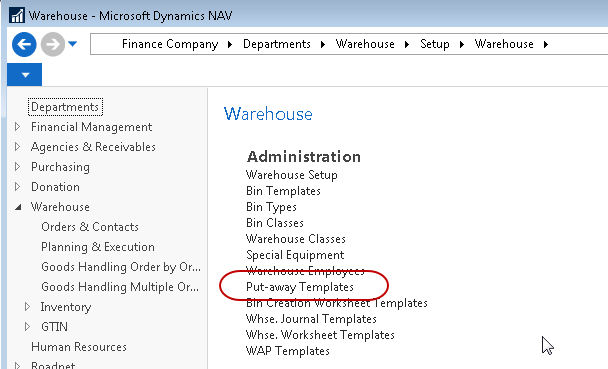
The Put-away Template can be accessed from Departments Warehouse Setup Warehouse Put-away Templates.
-
From the Put-away Template List, click New from the Home ribbon to create a new template.
-
Fill in the Code and Description fields.
-
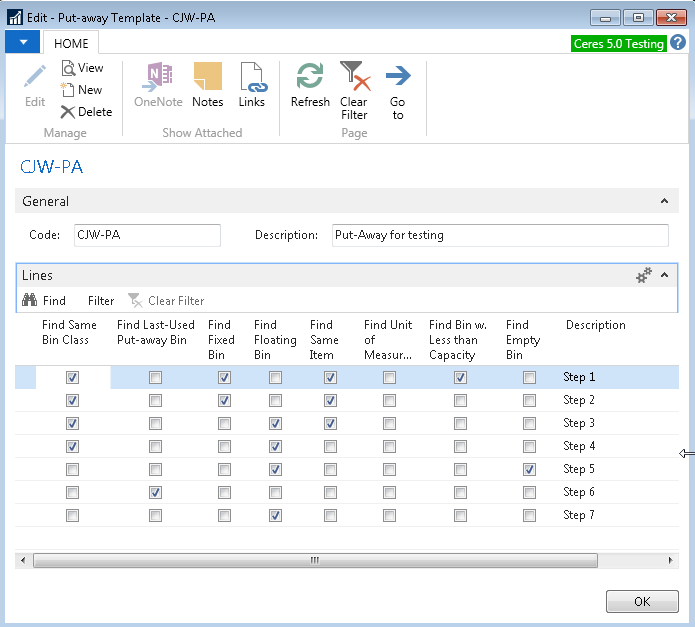
Begin filling in the Form. The lines represent a prioritized list, where Ceres will attempt to follow the rules set by the first line before attempting the next.
In the example above, the first line reads, “Find a Fixed Bin containing the same item, same Bin Class, and is not at maximum capacity.” The following lines continue in a similar manner with fewer restrictions until Ceres attempts to find an available Floating Bin.
-
Once the templates are created, you may identify which one should be used by either specifying it on the desired item or location card.
Accessing the Warehouse Put-away
When a Warehouse Receipt is posted, Ceres will automatically create a Put-away document.
-
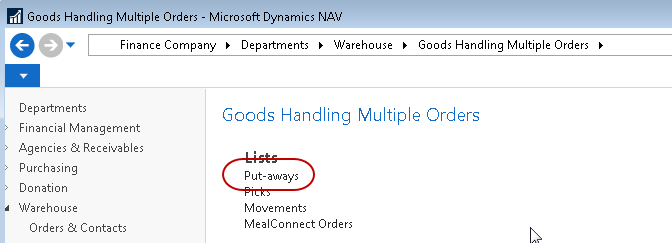
The Warehouse Put-away can be accessed from Departments Warehouse Goods Handling Multiple Orders Lists Put-aways.
 note
noteUsers who will be performing the put-away process need to be specified in the Warehouse Employees table for the location where the work will occur.
-
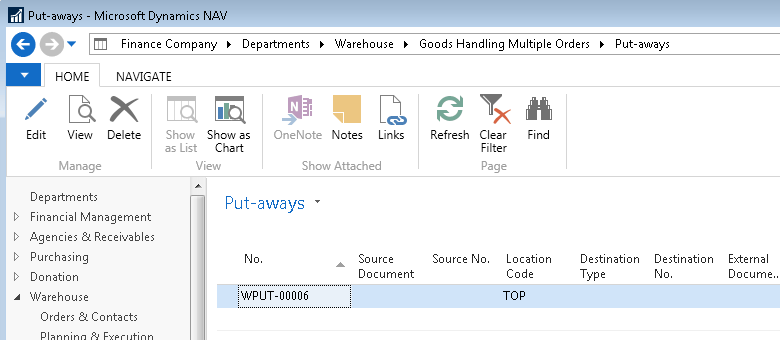
Select the Put-away from the List.
-
On the Assigned User ID field, select the user in charge of putting away the products. This will also fill in the Assignment Date and Time fields, which provides a date stamp for when the items were placed into the warehouse.

Directing Where Items Are Placed in the Warehouse
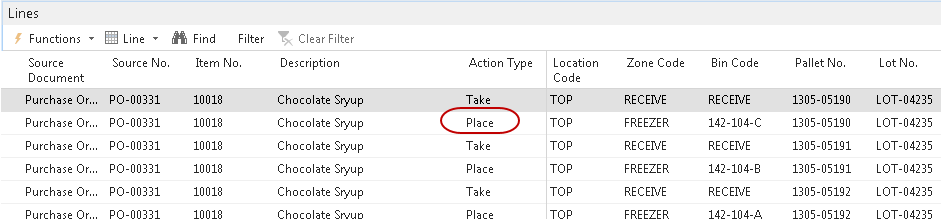
The Warehouse Put-away lines are organized into Take and Place actions. A Take action line indicates where the Item comes from, and the Place action line indicates where the Item will be stored in inventory. The Pallet, Zone and Bin on the Place lines are suggested by Ceres via the Put-away Template rules mentioned earlier in the document.
-
Select the first line with a Place Action Type.
-
In the Zone Code field, verify that the Zone specified is correct. If the Item should go to a different Zone in the warehouse, use the lookup and select a different zone.
-
In the Bin Code field, verify that the Bin specified is correct. If the Item should go to a different bin in the warehouse, select a different Bin.
noteIf the line Item is palletized and prior handling (put-away) has occurred, Ceres will require that the subsequent handling place for the inventory is the same Bin as the prior placement. This will ensure that a given Pallet is not represented in more than one Bin.
-
Once the information has been verified, click Register Put-away on the Home ribbon. The Items will be transferred from the receiving location to the locations you specified in the warehouse, and the document will be converted to a Registered Put-away.