Order Staging
Once an Agency order has been picked, food banks need to keep track of the number of pallets and where the product is staged, by agency and by order. Staging helps to find the Shipped Pallets and ensure that no pallets are missed during truck loading. This document will illustrate how to use the Agency Order/Pick staging functionality in Ceres 5.
Ceres Object release 5.00.00 is required for the functionality described in this document.
Overview
The staging functionality in Ceres was enhanced to support multiple workflow models by tracking as much information as possible within Ceres.
The staging enhancements are based on Inventory Picks (Ship Option 2) and include:
-
Default Staging Area – Standard pre-defined staging areas that can be linked to Agencies, Zones and FBC Storage Requirements. The default staging areas flow when the Inventory Pick is generated based on the “Create Pick By” field on the Location Card.
-
Staging Areas – A free form staging area field that can be entered manually on the Inventory Pick. This field will default from the Default Staging Area field but can be overridden.
-
Shipping Pallet Tags – Tags that can be printed and placed on the agency pallets that are staged.
-
Shipment Report – Report that lists the Agency Orders that have been shipped but not invoiced.
Staging Areas Setup
-
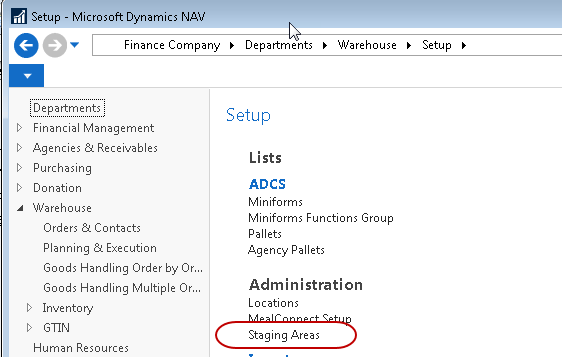
The setup of default Staging Areas starts with defining Agency Pallet Staging Areas. Staging Areas can be accessed from Departments ▸ Warehouse ▸ Setup ▸ Staging Areas.
-
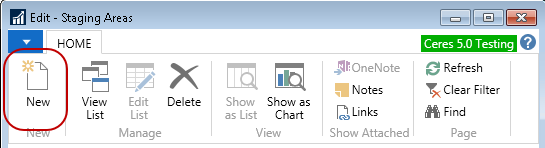
To create a new Staging Area, select New from the Home ribbon.
-
Then update the fields as follows:
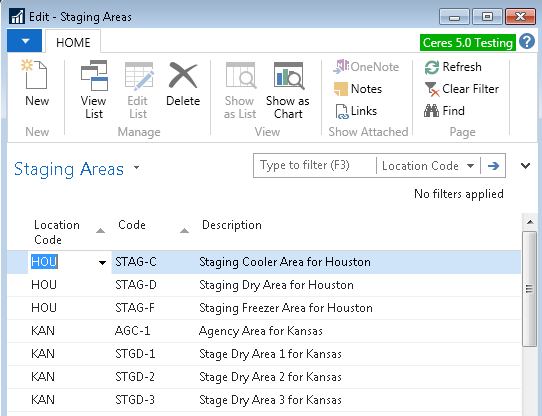
Location Code: Select the Location you are creating a new staging area for.
Code: A unique identifier for the new staging area.
Description: A brief description of the staging area.
Linking and Updating Staging Areas
-
A Staging Area can be linked to an Agency, Zone or FBC Storage Requirement.
-
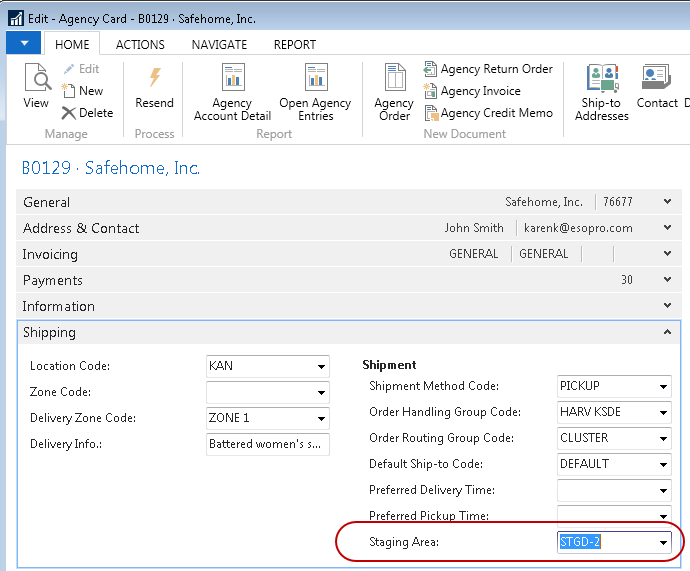
Link a Staging Area to an Agency on the Agency card, which can be found by navigating to Departments Agencies & Receivables Agency Relations Lists Agencies.
-
Select the Agency and then open the Card.
-
Open the Shipping FastTab.
-
Select or input a value in the Staging Area field.
-
-
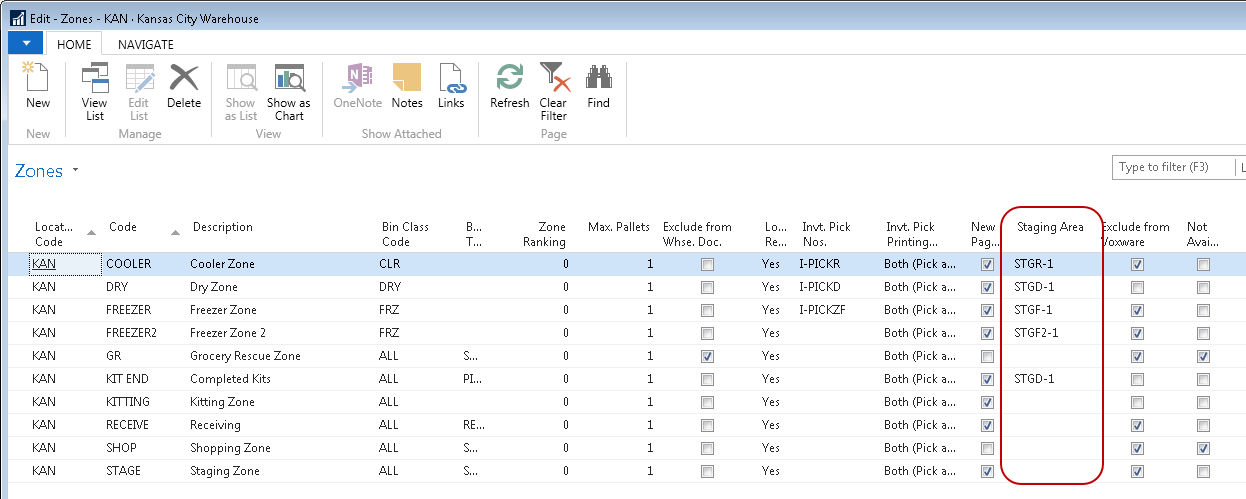
Link a Staging Area to a Zone via the Locations card, by navigating to Departments Warehouse Administration Setup Locations.
-
Select the Location and then open the Card.
-
Select Zones from the Home ribbon.
-
Select or input a value in the Staging Area field.
-
-
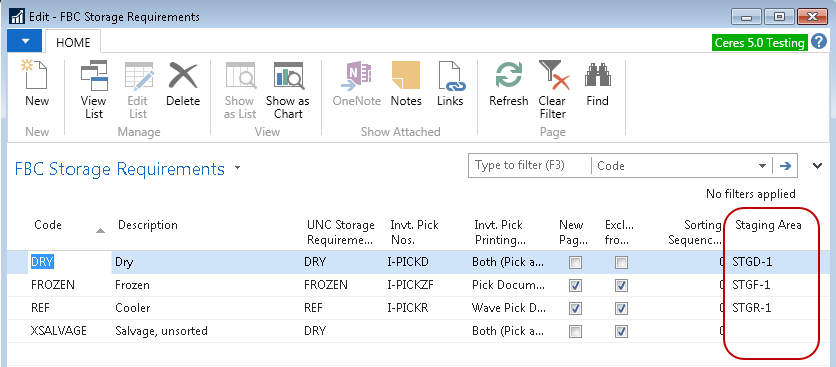
Link a Staging Area to an FBC Storage Requirement from the FBC Storage Requirements list, found by navigating to Departments Administration Application Setup Warehouse Inventory Food Bank Number Codes FBC Storage Requirements.
- Select or input a value in the Staging Area field.
-
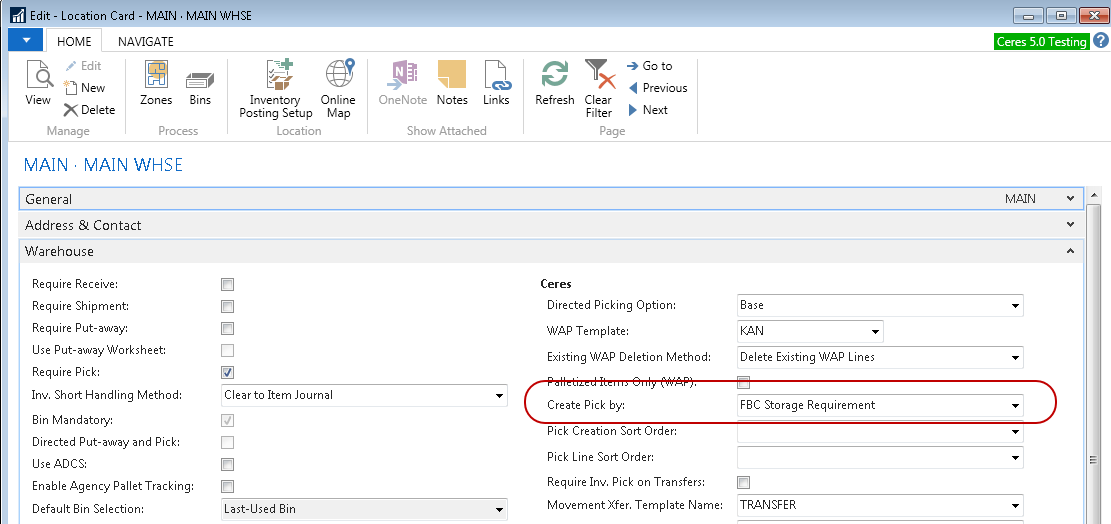
A Staging Area linked to an Agency, Zone or FBC Storage Requirement flows to the Default Staging Area field on the Inventory Pick based on the “Create Pick by” field on the Location Card when the picks are generated. The “Create Pick by” options are:
Blank: The Staging Area field will flow from the Agency to the Agency Order and from the Agency Order to the Default Staging Area field on the Inventory Pick.
Zone: The Staging Area field will flow from the Zone to the Default Staging Area field on the Inventory Pick.
FBC Storage Requirement: The Staging Area field will flow from the FBC Storage Requirement to the Default Staging Area field on the Inventory Pick.
-
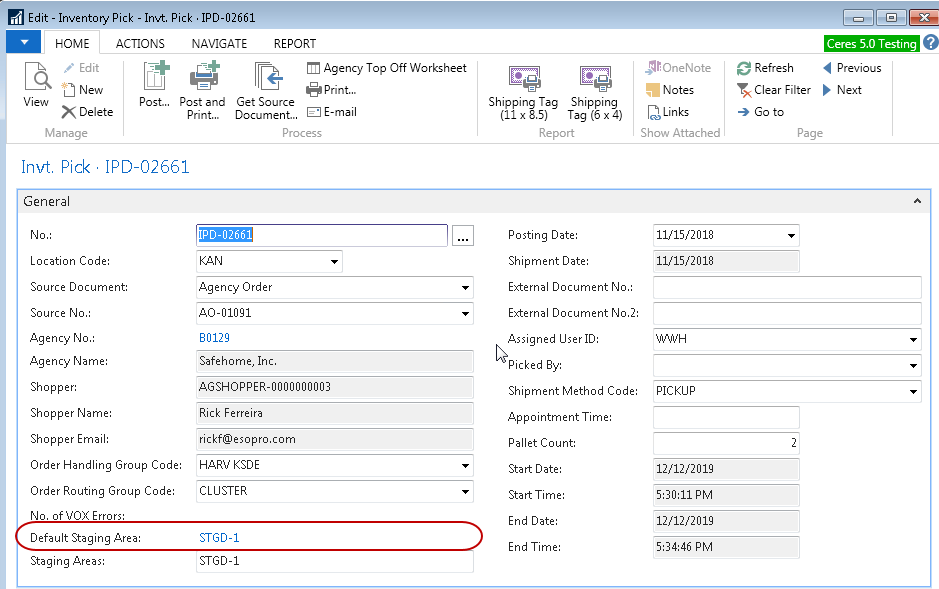
It’s assumed that the value that flows to the Default Staging Area field on the Inventory Pick is a standard pre-defined staging area where the product is staged until it is loaded on the truck or is picked up by the Agency. Thus, the Default Staging Area field is not editable on the Inventory Pick.
-
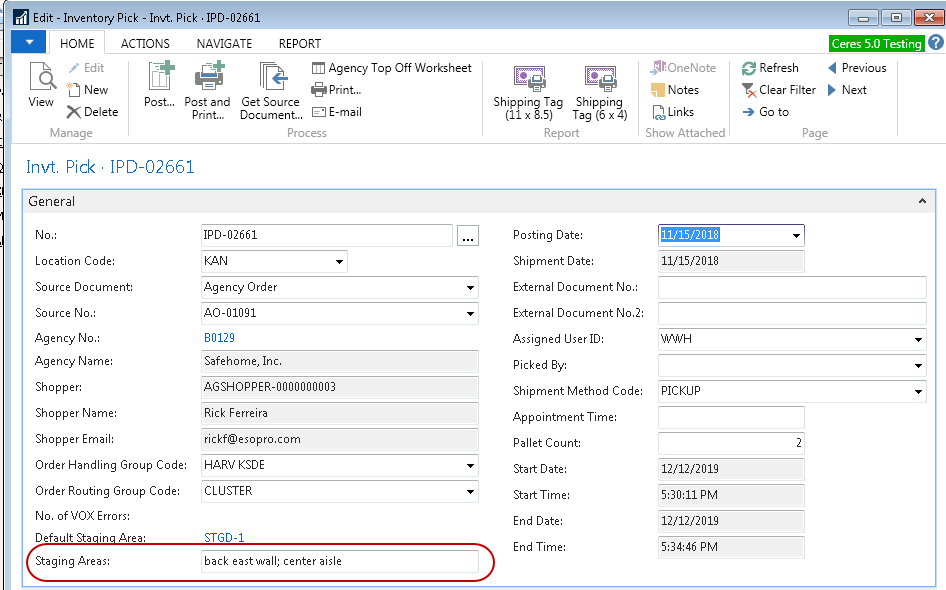
The Staging Areas field on the Inventory Pick defaults from the Default Staging Area field but can be overridden. The Staging Areas field can be changed to any text to indicate where the product is staged, e.g., back east wall, center aisle, or Refr. truck 5.
-
When the Inventory Pick is posted, the Default Staging Area and Staging Areas fields flow to the Posted Inventory Pick. This way Shipping Tags can be printed from both the Inventory Pick and the Posted Inventory Pick.
Shipping Tag
There are a few options for Shipping Pallet Tag reports available, with slightly different sizes and configurations. They contain most or all of these fields. Your Ceres VAR can assist you in setting up the proper report to print from the Inventory Pick page.
-
A Shipping Tag can be printed and placed on the product or pallet that is being staged to identify who it is for and where it is located. The Shipping Tag can be printed from an Inventory Pick (Departments Warehouse Good Handling Order by Order Inventory Picks) or from a Posted Inventory Pick (Departments Warehouse Archive History Posted Documents Posted Invt. Pick).
-
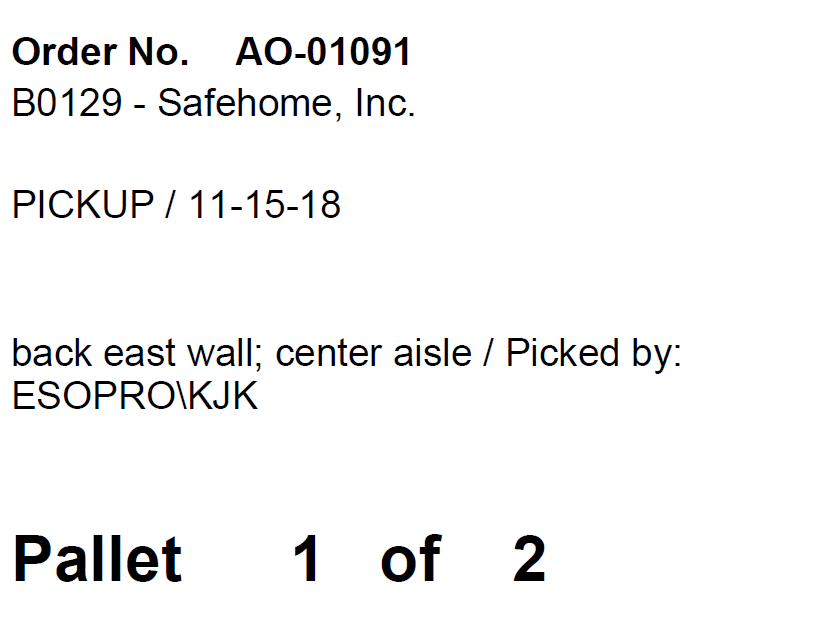
The fields that print on the Shipping Tag are as follows:
Shpt. No.: Inventory Pick No.
Order No.: Agency Order No. or Source No.
Parent Agency No.: Parent No. associated with the Agency on the Inventory Pick. This field does not display on the Inventory Pick Header.
Agency No. and Name: Agency No and Name on the Inventory Pick Header.
Text below the Agency No and Name: Shipment Method Code Description. Deliver in the example below.
Date: Shipment Date.
Default Staging Area: Does not print since the Staging Areas field defaults based on this field.
Staging Areas: Prints based on whatever value is in this field.
Picked By: User ID.
Pallet Count: Must be filled in before the Shipping Tag will print. Multiple Shipping Tags will print based on the value in the Pallet Count field. On each tag the number of pallets will dynamically print as Pallet 1 of XX. For example, if a pallet count of 2 is entered then 2 Shipping Tags will print. The first tag will print Pallet 1 of 2, and the second tag will print Pallet 2 of 2.
-
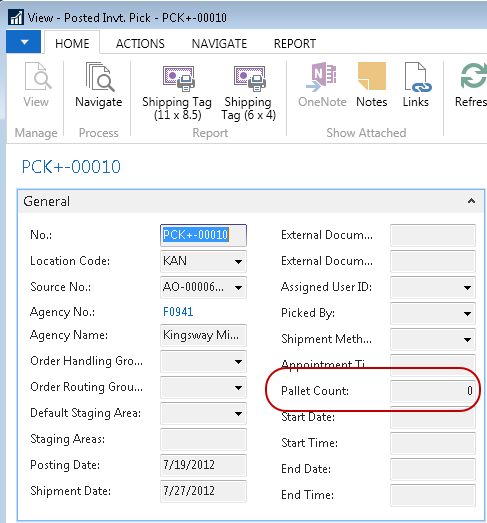
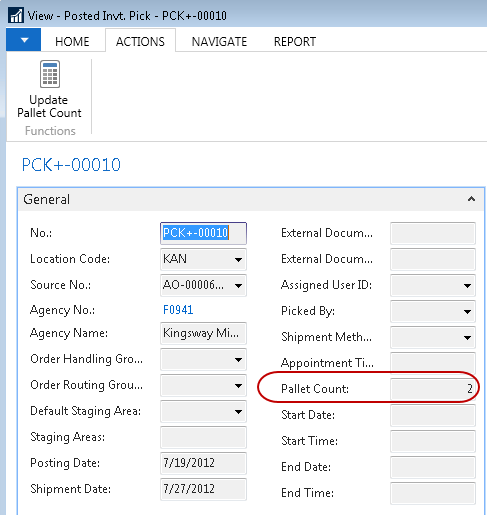
If a pick document was posted with a Pallet Count of 0, the Pallet Count on the posted pick document must be updated before a Shipping Tag can be printed. Posted pick documents can be accessed from Departments ▸ Warehouse ▸History ▸ Posted Documents ▸Posted Invt. Pick.
-
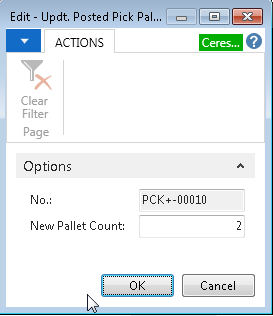
To update the Pallet Count on the Posted Inventory Pick. Find the Posted Inventory Pick you want to update from the List. From the Posted Invt. Pick Card select Update Pallet Count from the Actions ribbon. In the New Pallet Count field input the number of pallets. Click the OK button to update the Posted Inventory Pick with the new pallet count.
-
Once the Pallet Count field has been updated on the Posted Inventory Pick, the Shipping Tag can be printed.
Shipment Report
-
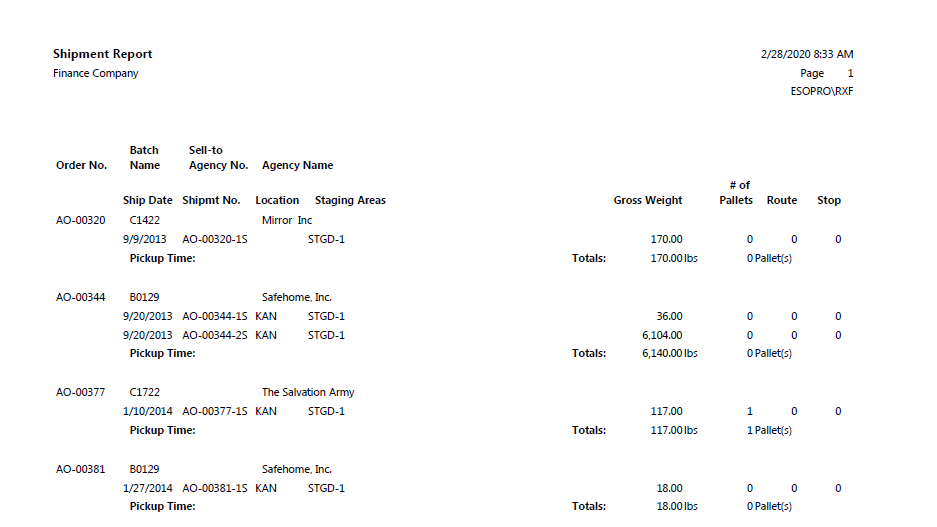
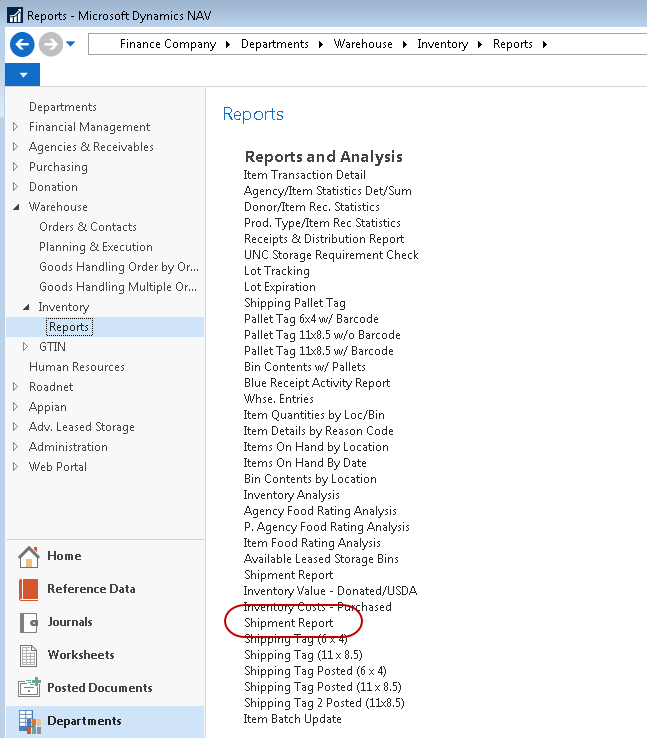
The Shipment Report is based on the Sales Shipment Header and includes Agency Orders that have been shipped (Pick Posted) but not yet invoiced. These orders are considered staged. The Shipment Report can be accessed from Departments ▸ Warehouse ▸ Inventory ▸ Reports ▸ Shipment Report.
-
The Shipment Report Page will display where users can set filter criteria based on how they want to run the report, such as Shipment Date, Shipment Method, Batch Name, Order Handling Group Codes, etc.
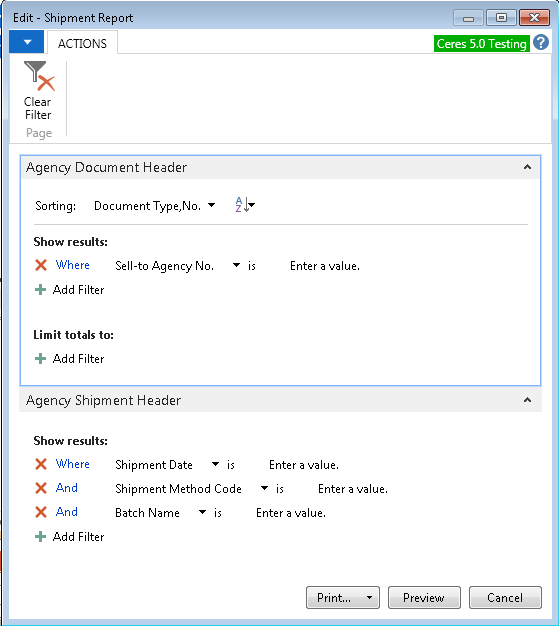
Printing or Previewing the Report
The report can be printed or previewed by clicking on the Print or Preview button.