Agency Pallets
Once an Agency order has been picked, food banks need to keep track of the number of pallets and where those agency pallets are staged or stored. The Agency Pallets feature helps with the creation of the agency pallets and the location and administration of those pallets. The staging functionality in Ceres supports multiple workflow models by tracking as much information as possible within Ceres.
The staging enhancements are based on Inventory Picks (Ship Option 2) and include:
-
Default Bin Location – A standard pre-defined bin location for agency pallets. Bin Locations can be setup by zone for clients that create picks by zone or with a single default agency pallet bin for clients that do not create separate picks by zone.
-
Agency Pallet Tags – Tags that can be printed and placed on staged agency pallets.
-
Agency Pallet Administration – Provides the ability to move pallets, reprint an agency pallet tag, create additional agency pallet tags and close agency pallets.
This document illustrates how to use the Agency Order/ Agency Pallets functionality in Ceres.
Ceres Object release 5.00.00 is required for the functionality described in this document.
Inventory Setup
-
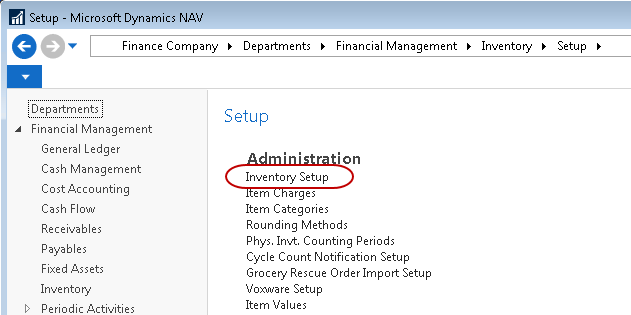
The setup of default Staging Areas starts with defining Agency Pallet Staging Areas. Staging Areas can be accessed from Departments ▸ Financial Management ▸ Inventory ▸ Setup ▸ Inventory Setup.
-
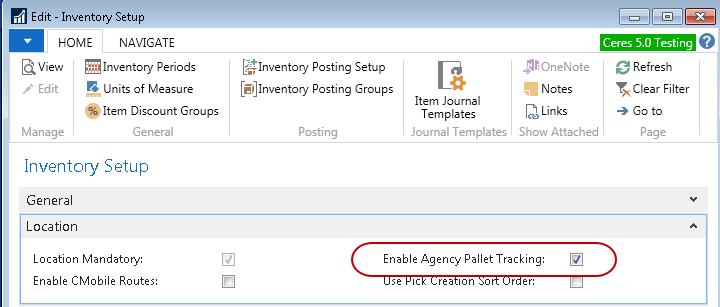
Enable Agency Pallet Tracking by checking the appropriate checkbox on the location tab.
-
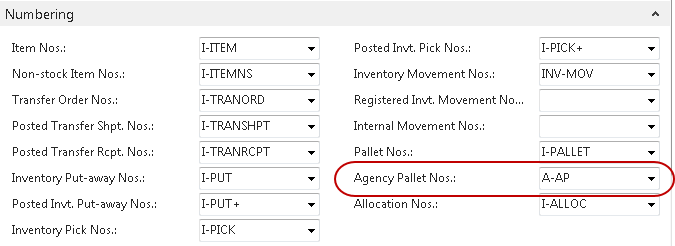
Navigate to the Numbering FastTab on Inventory Setup. Create and assign a number series for Agency Pallet numbers.
Bin Classes
-
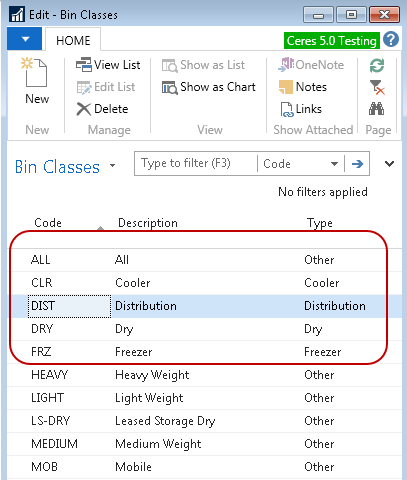
If you are creating picks by zone, you must identify a bin class for each zone. Access Bin Classes from Departments ▸ Warehouse ▸ Setup ▸ Warehouse ▸ Bin Classes.

-
You should set up a corresponding bin class for each zone, another bin class for picks not assigned to a zone and lastly a distribution class that will be used once the agency pallet is either picked up or delivered to an agency. In our examples, our zones are DRY, FRZ and CLR.
-
In the type field for each Bin Class, choose the appropriate type from the choices. Note: This type is not the same as Bin Type, but is instead connected to the Agency Pallets section of the Bins FastTab on each Location Card, and is limited to “Other”, “Dry”, “Cooler”, “Freezer” and “Distribution”. See Locations below for more information.

-
Once the Bin Classes have been created and linked to a type, the Location can be set up and the default agency pallet bins can be assigned.
Location
-
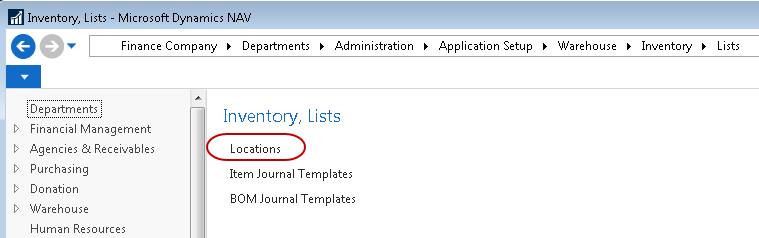
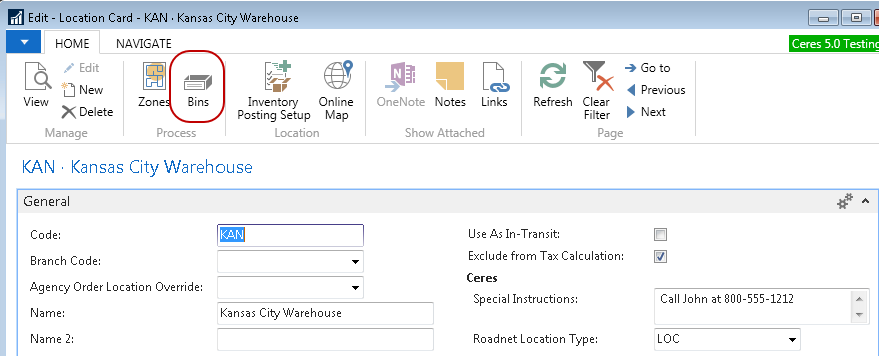
Access Locations from Departments ▸ Administration ▸ Application Setup ▸ Warehouse ▸ Inventory ▸ Lists ▸ Locations.
-
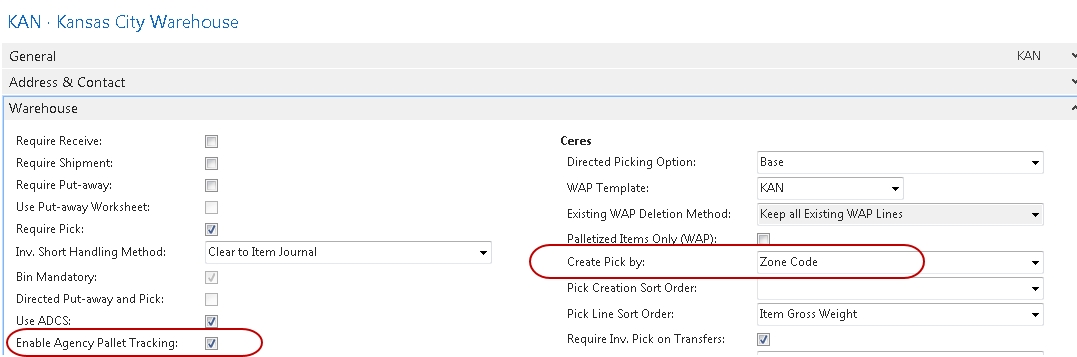
On the location card enable agency pallet tracking by checking the appropriate checkbox on the Warehouse tab.
-
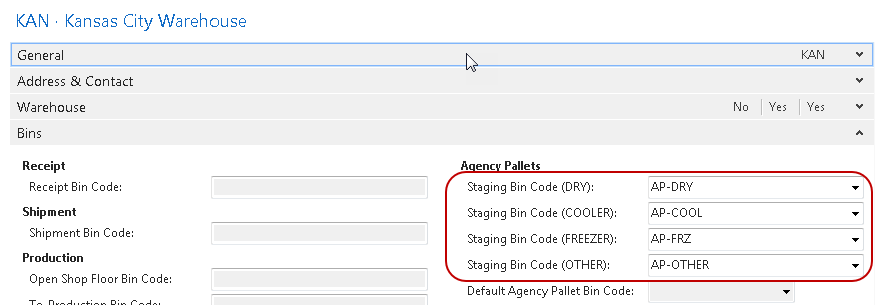
Based on the setting of the Create Pick by field, the system will enable/disable fields on the Bins Tab. If the field is set to Zone as shown above, the bin fields shown on the Bins tabs are active and need to be filled in. See Step 5 below for details on these settings.
-
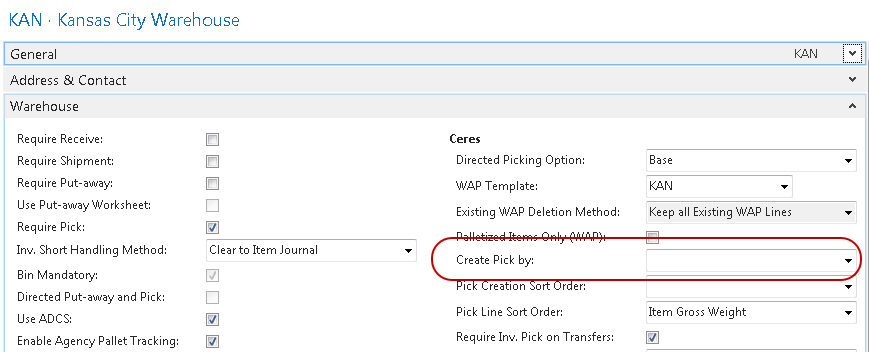
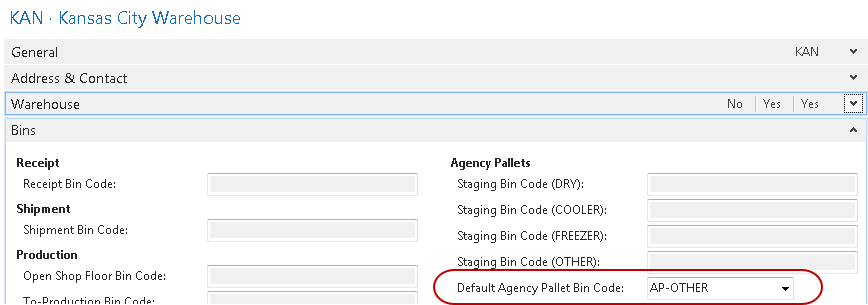
If the Create Pick by field is not set to Zone, only “Default Agency Pallet Bin Code” is active and needs to be filled in.

-
Prior to completing the bins tab with the default agency pallet bins, you must first define the bins for the location. Click on the Bins icon on the location to access the bin list.
-
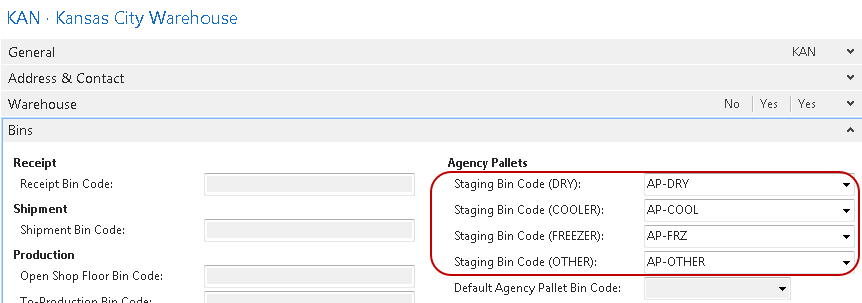
In the bin list, create the agency pallet bins if needed and assign each to the correct bin class. In this example we have created 5 bins, 1 for each zone (AP-COOL, AP-DRY an AP-FRZ) each set in the corresponding Bin Class code. We have defined an AP-OTHER bin for any pallets where the zone could not be identified and lastly the AP-DIST bin used when the agency pallet is delivered or picked up by an agency.

-
Now that the bins have been created we can complete the bins tab on the location code.
-
If we are not using create picks by zone, only the Default Agency Pallet Bin code would be filled in.
Ceres Report Selection
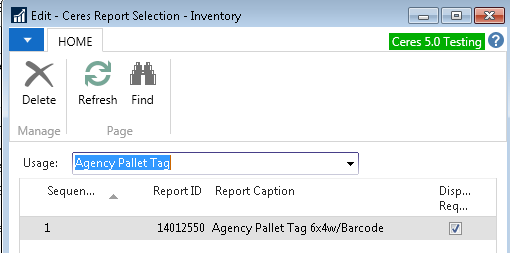
Navigate to Departments ▸ Administration ▸ Application Setup ▸ Warehouse ▸ Inventory ▸ Tasks and run the Ceres Report Selection – Inventory page. Select the Usage of Agency Pallet Tag and specify a Report ID of 14012550.
Creation of Agency Pallets
-
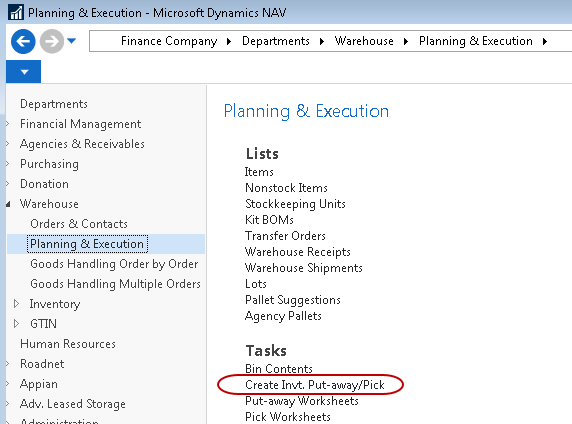
Creation of agency pallets is done the Create Invt. Put-Away/Pick function. This is accessed from Departments ▸ Warehouse ▸ Planning & Execution ▸ Create Invt. Put-Away/Pick.
-
When running the program to create picks check the box to Print Agency Pallet Tag.

-
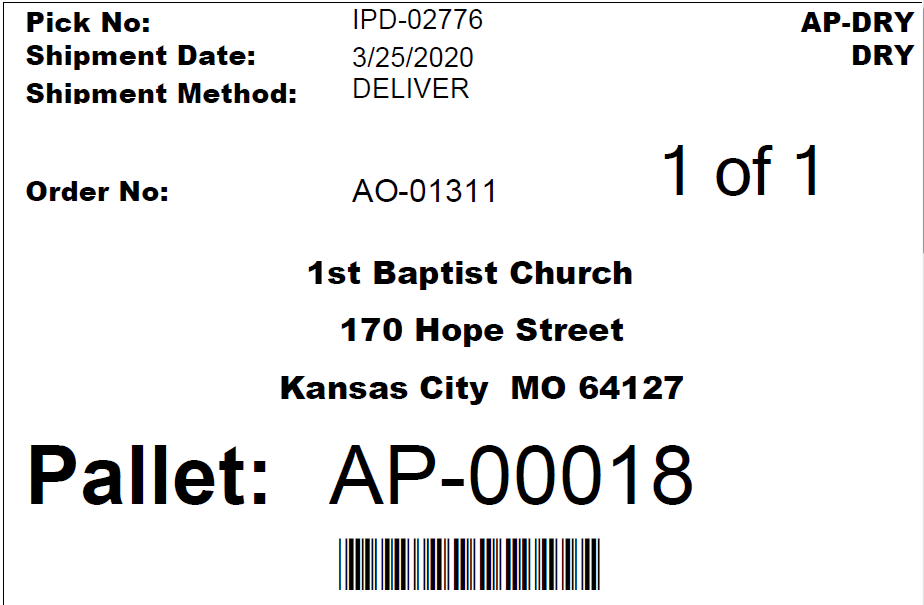
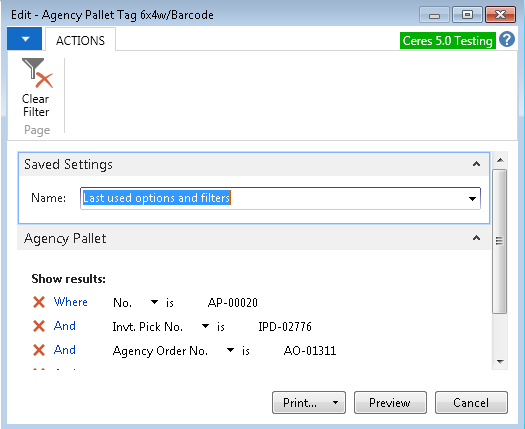
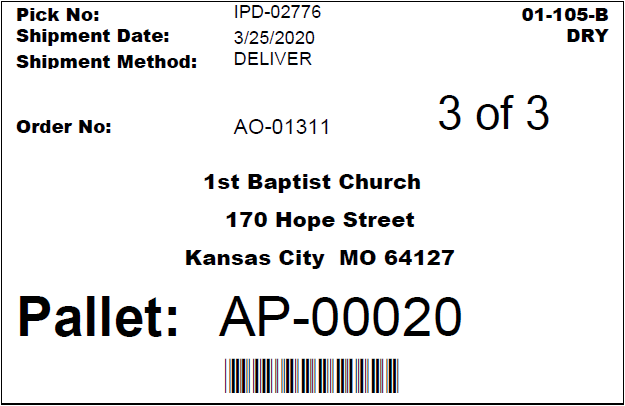
In addition to the picks being created and printed, the system will also create and generate agency pallet tags and print those as well. If the system is configured to create picks by zone, then you will receive one pallet tag for each zone used on the pick. Each pick generated will have one agency pallet tag generated and printed. Additional agency pallet tags for any pick can be printed from the Agency Pallet Administration page described below. The agency pallet tag report looks like this:
Agency Pallet Administration
-
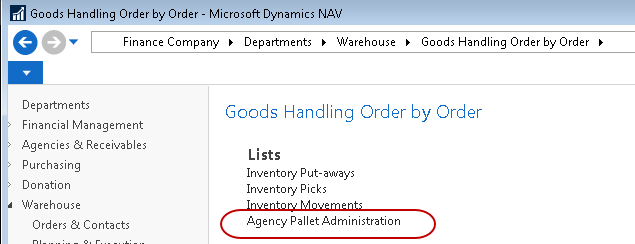
Agency Pallet Administration is accessed from Departments ▸ Warehouse ▸ Goods Handling Order by Order ▸ Agency Pallet Administration
-
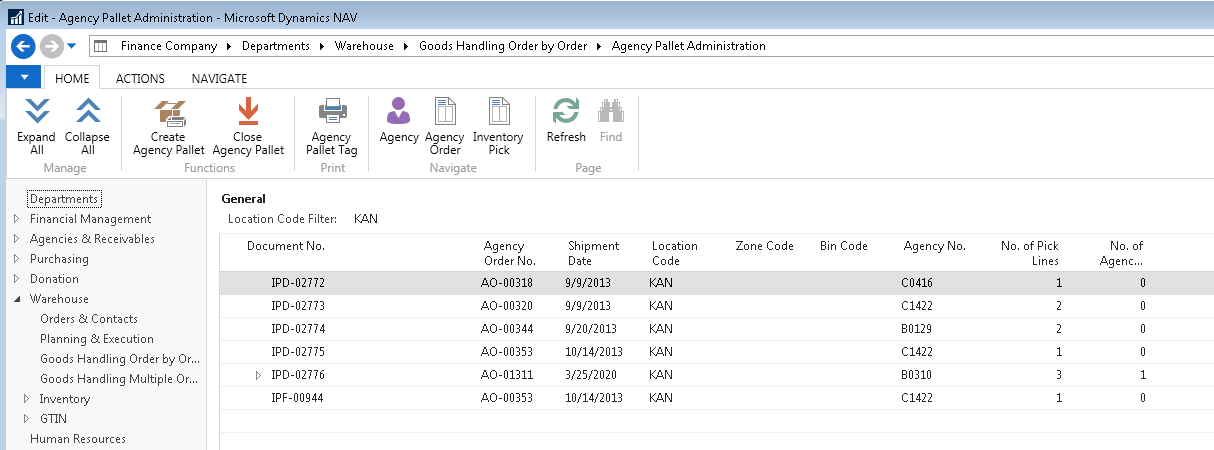
The Agency Pallet Administration page will open.
-
The following functions are available:

Expand All – this will show all agency pallets associated with each pick underneath each pick document. Most picks will have only one agency pallet associated with it unless an additional agency pallet has been created for that pick.

Collapse All – this will close the display of agency pallets associated with all picks.
 note
noteIndividually you may use the expand/collapse icons to the left of each pick to show or hide the agency pallets associated with an individual pick document.
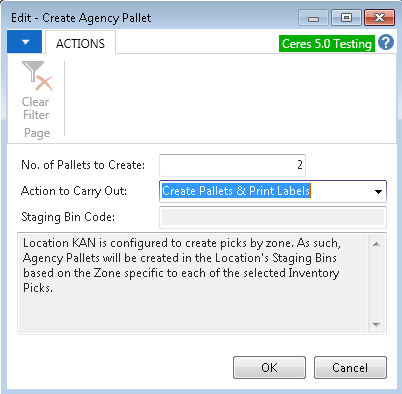
Create Agency Pallet – Use this function to create an additional agency pallet for an individual pick. Select the pick line and click on the icon. You may create 1 or more additional agency pallets for the pick and choose whether or not to print them. If the location is configured to print picks by zone, you will not be able to specify the bin code for the pallet, they will be created in the default agency pallet bin code specified on the location card.
Close Agency Pallet – If the agency pallet has been picked or delivered and was not properly closed you can use this function to close the agency pallet. Also, if an agency pallet was created in error, you may also close the incorrect agency pallet with this function. The administration page is defaulted to not show closed pallets, although you may change the filter to show closed pallets. It is NOT possible to reopen a closed agency pallet; you would need to create a new agency pallet if needed. When you select this function you will be prompted to confirm the close.

Agency Pallet Tag – this allows you to reprint an agency pallet tag.
Agency – this function will display the agency card associated with the agency pallet tag.
Agency Order – this function will display the agency order document associated with the agency pallet tag.
Inventory Pick – this function will display the inventory pick document associated with the agency pallet tag.
Agency Pallets
-
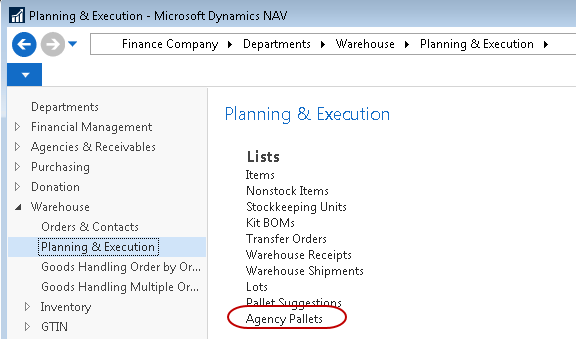
Agency Pallets is accessed from Departments ▸ Warehouse ▸ Planning & Execution ▸ Agency Pallets
-
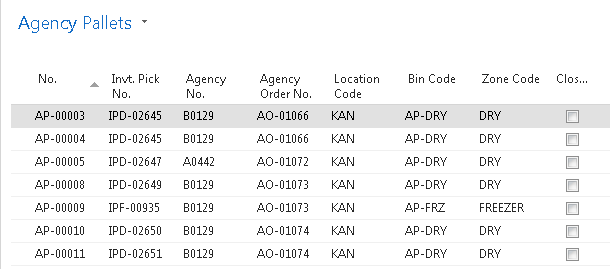
This will display the Agency Pallet Page.
-
From the Agency Pallet Page you can perform the following functions:

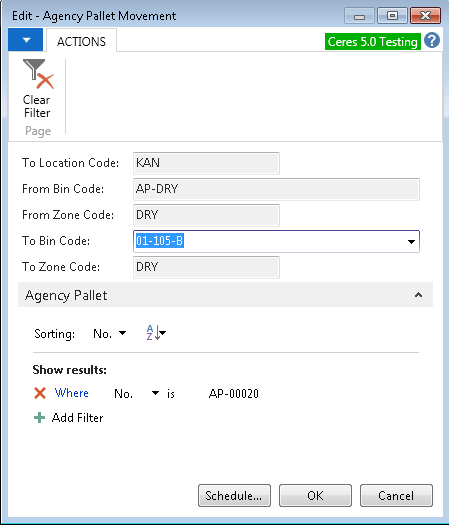
Register Movement – Move the agency pallet to another bin or to the Distribution bin to close the pallet. Click on the Register Movement Icon and enter the To Bin Code the pallet was moved to. Then click OK to complete the movement.
Close Pallet Tag - If the agency pallet has been picked or delivered and was not properly closed you can use this function to close the agency pallet. Also, if an agency pallet was created in error, you may also close the incorrect agency pallet with this function. By default. the administration page does not show closed pallets, although you may change the filter to show closed pallets. It is NOT possible to reopen a closed agency pallet; you would need to create a new agency pallet if needed. When you select this function you will be prompted to confirm the close.

Agency Pallet Movement History – Display a page showing all movements of the agency pallet through the warehouse.

Agency Pallet Tag - this allows for the reprint on an agency pallet tag.
ADCS Agency Pallet Movements
-
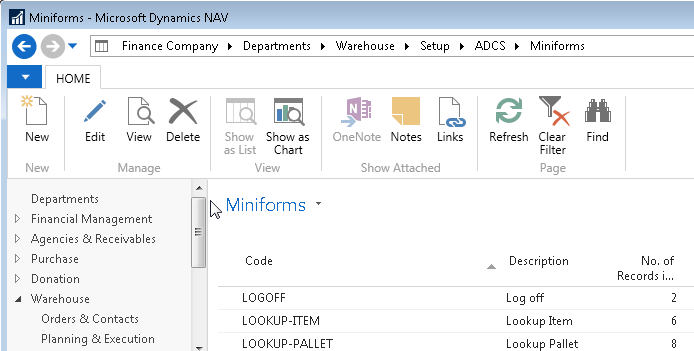
In order to implement the ADCS portion of Agency Pallets, a new Miniform will need to be created. Navigate to: Departments ▸ Warehouse ▸ Setup ▸ ADCS ▸ Miniforms
-
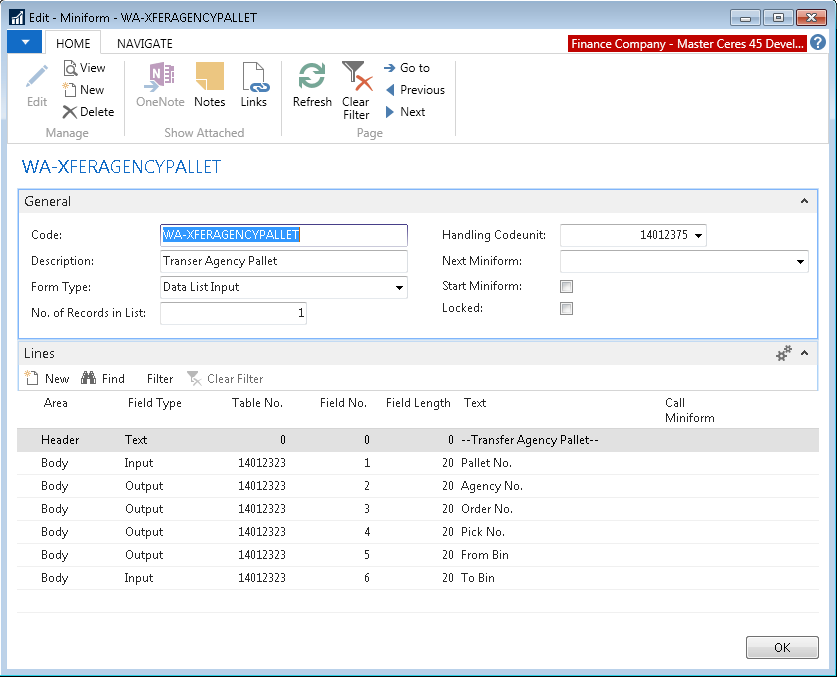
Select the New action and create the WA-XFERAGENCYPALLET Miniform as shown below.
-
Next, update the MENU-WHSE-ACT Miniform to insert the highlighted line as shown below.
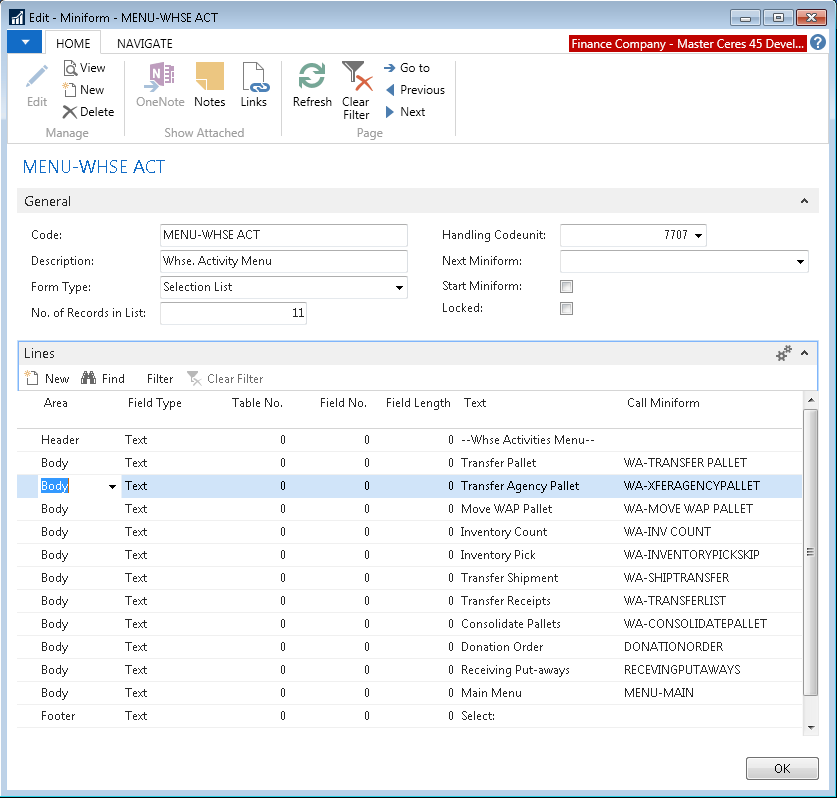
-
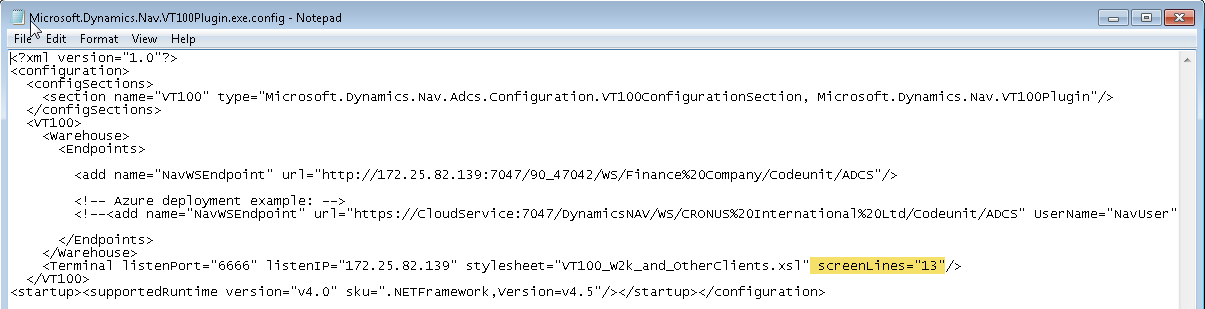
Note that in the screenshot above there are 13 lines configured. Depending upon your current ADCS configuration you may need to update the VT100 configuration file. By default, this file is located at:
C:\Program Files (x86)\Microsoft Dynamics NAV\90\Automated Data Capture\System\Microsoft.Dynamics.Nav.VT100Plugin.exe.configThe file can be opened with Notepad and updated to set the screen lines property as shown below. Note that the VT100 Service will need to be restarted after the configuration file is updated.
Related Topics
- Location Overview
- Bin Overview
- Inventory Setup
- Inventory Picks for Agency Orders
- Zone Overview